
Noticias
How to Properly install a Ford/Chevrolet/Jeep Radiator
How to Properly install a Ford/Chevrolet/Jeep Radiator
Introduction
Replacing the radiator in your Ford, Chevy or Jeep? Don't rush to the repair shop! With this detailed guide, you can safely install your radiator at home, saving time and money. As a manufacturer of high-performance radiators designed for American models, ZINGKING provides you with radiators and professional support tailored to the original specifications.
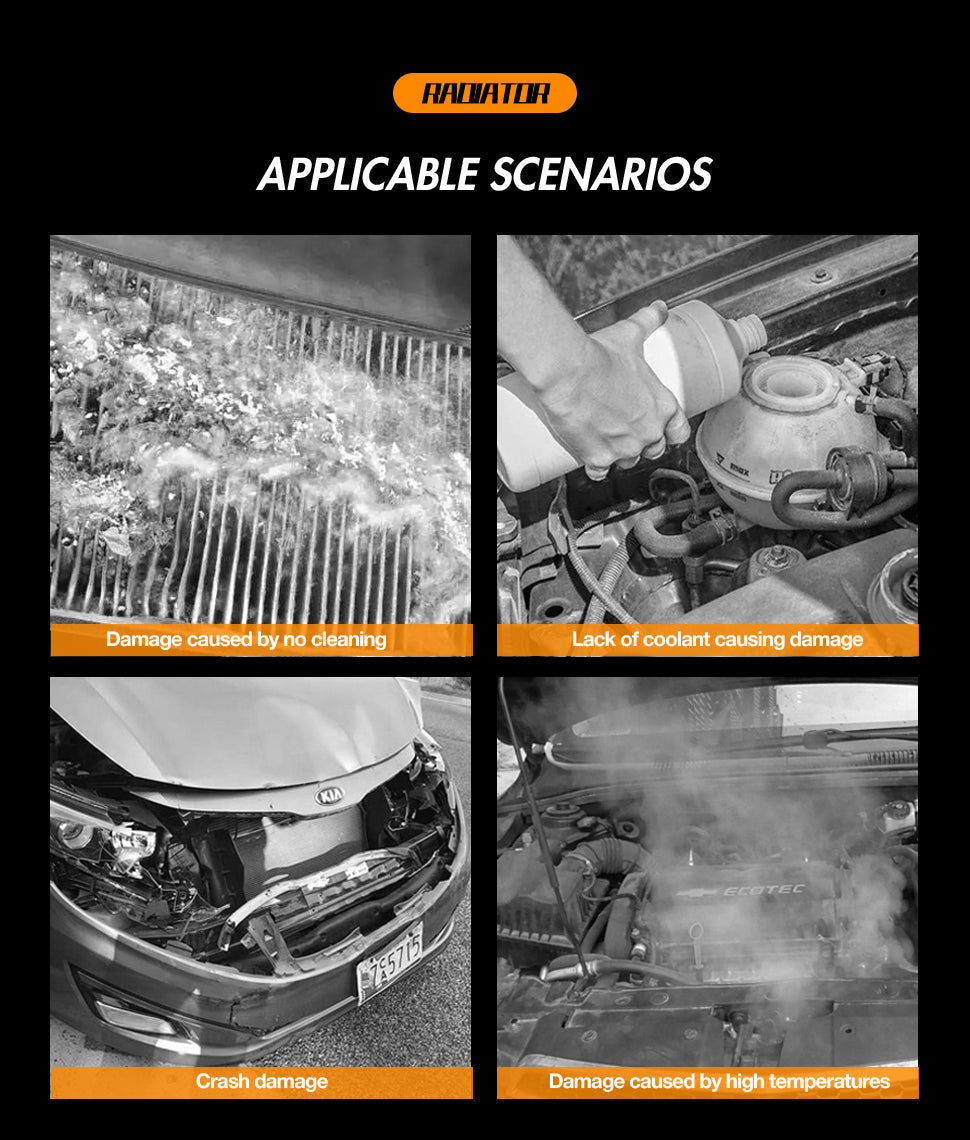
1. Preparation before installation
1.1 Safety first
- Make sure the vehicle is turned off and completely cooled (wait at least 1 hour).
- Wear protective gloves and goggles to avoid contact with high temperature coolant.
- Use the jack bracket to fix the vehicle, do not rely on the jack alone!
1.2 Tools and materials list:
- ZINGKING radiator for your vehicle type
- Original manufacturer specified antifreeze coolant
- Wrench set, screwdriver, carp pliers, drain tray
- Hose clamp clamp (optional to simplify hose removal)
2. step-by-step installation guide
Step 1: Drain old coolant
- Locate the drain valve at the bottom of the radiator, place the drain tray and slowly unscrew the valve.
- Tip: Old coolant should be treated environmentally, do not pour directly into the sewer.
Step 2: Remove old radiator
- Disconnect upper and lower radiator hoses (use pliers to release clamps).
- Remove the mounting screws (Ford F-Series usually remove the front grille).
- Note: Take photos to record the wiring harness and fan connection position, easy to reinstall.
Step 3: Install new radiator
- Align the radiator with the support slot and gently push it until it is fully stuck.
- Set screws in reverse order (pre-tighten manually, then reinforce with tools).
- Reconnect the hose to the electronic fan plug (check the sensor harness for Jeep models).
Step 4: Fill coolant and exhaust
- Pour a mixture of 50% coolant and 50% distilled water to the "MAX" line.
- Start the engine and turn on the heater, waiting for the cooling fan to start to expel the air bubbles.
- Key points: Repeat the exhaust until the water temperature gauge is stable to avoid overheating and damaging the engine.
3. Inspection and maintenance suggestions after installation
1. Leak test:
- Wipe the joint with a tissue and check for leaks within 24 hours.
2. First drive:
- Check the cooling level again after short-distance test and make it up in time.
3. Extend radiator life:
- Coolant changes every 2 years or 30,000 miles (more frequently for high-load vehicles).
- Clean the radiator grille regularly to prevent catkins/dust clogging.
It is hoped that these professional recommendations can help users install heat sinks more efficiently.